Tips for Outdoor Food Photography
In my time
span of practicing food photography, I have mostly done my shoots indoor in the
close and safe proximity of my house, where everything is just under my hand’s
reach. And this precisely was the reason I feared outdoor shoots. An outdoor
shoot is no doubt much more complex than a controlled, completely planned setup
indoors. But it opens so many beautiful avenues that the effort to take a step
above your inhibition to stay inside closed doors is completely worth it.
A few
months ago, I took the step and went for my first outdoor shoot and there has been
no stopping. I just love the fact that I can experiment so much with the pictures
by bringing in all the natural elements. And it’s such a fresh experience every
time as I learn something new.
I am
sharing a few tips that I think can help you with your next outdoor shoot.
These are coming from my own experience that would have helped me if I had
known them before.
- Time of the day: If you have
heard photographers talking about special times of day, then go read them again
because they are right. There are specific times of a day that can greatly enhance
your picture. But that doesn’t imply that other times are not picture worthy.
In an outdoor shoot, the ideal time to click would be after sunrise when the sun hasn’t peaked over your head (10-12pm) or the 2 hours before sunset. This gives you much softer light and the colours around you will be less yellow. But you can definitely click pictures in the afternoon light with more diffusion if you can’t manage the golden hours.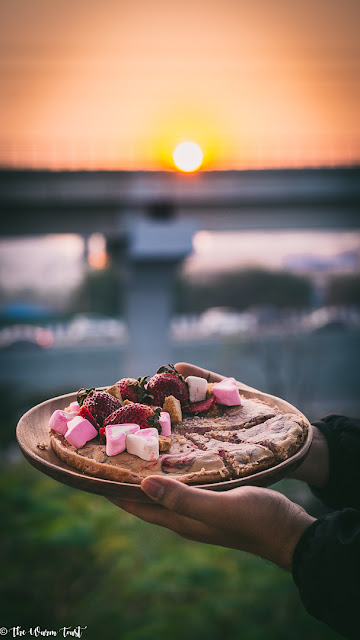
The strawberry cheesecake was clicked right before sunset. 
The Barley Pops were also shot during the sunset, but in a shaded balcony, diffuser to left and black card to back & right hand side to create dark shadows. - Location: Choose a
location that complements the food. Your food is the hero, so you wouldn’t want
the location to overpower it. It must enhance the features, colours and
textures of the food.In the pictures below, for the orange juice, I chose a green completely grassy
background as it perfectly complemented the orange colours.The coffee was shot near a lake, since it helps tell a story about drinking a
hot mug of coffee while enjoying a view. Let the location speak to the viewer the
story of the picture.

The coffee was clicked beside a lake, the greys and subdued colours highlighting the coffee. - Diffusion/Exposure Control:Controlling
light is for me the most difficult part in any outdoor shoot. The natural light
is not just harsh when its directly falling on food, but it keeps changing with
the time of the day, movement of clouds and formation of shadows. Having a
diffuser will greatly help you make the light softer.
Moreover, its advisable to have a good grip on your camera settings. It simply means you have to understand better the Manual Settings of the camera and control exposure. The picture generally would get over exposed due to excess light and so it must be balanced with a lower ISO and higher shutter speed. Fresh Orange Juice in a backdrop of grass and trees.
Notice I haven't used a diffuser which has given me hard shadows.But I kept my exposure under control. - The Subject- Kind of food:Once again
there is nothing more important than a food in the picture. For an outdoor
shoot, it is always better to understand the “outdoor” factors that can make or
break a picture. If it’s a warm sunny day and you want to shoot a buttercream frosted
cake in a park away from your home, then it might not be a good idea. Melted frosting,
dust and leaves stuck on the cake is the last thing you would want.Use food
items that are more durable and easier to handle instead of delicate stuff. For
starters I used, juices, coffee, cookies and salads. Also, there colours and
textures go well with the garden I was clicking in.

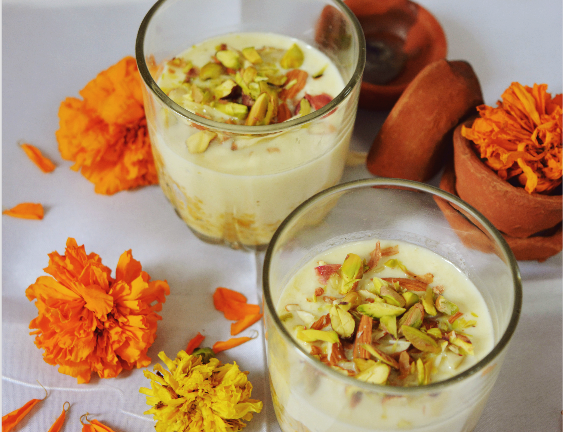
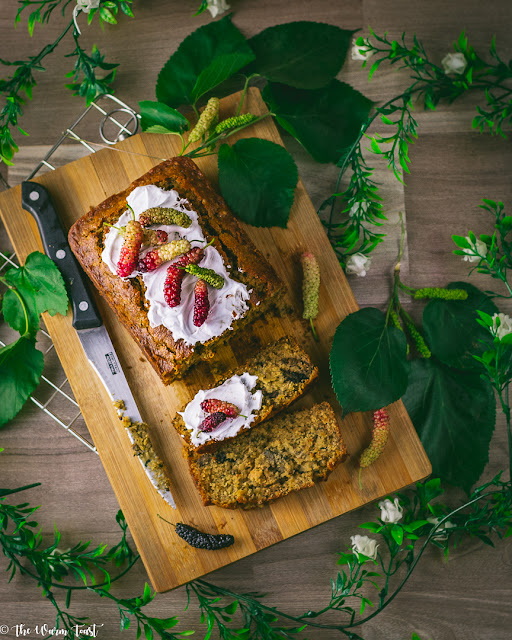
Plus point, apart from the garden, my clothes matched my bowl! An amazing coincidence. - The Styling & Set up:Food
styling is an important elemnt whether you are shooting at home, studio or
anywhere outdoors. But the benefit of an outdoor shoot is that you can utilize the
surroundings and the natural environment to make your picture come out alive.You can
definitely add props to your pics but keeping it to a minimum greatly enhances
what nature has to show around the food. Lightly styled, I prefer to just have
the food and surroundings speak for itself.
 No complex styling done for the strawberries as they look best fresh in their natural environment.
I wanted to play with the patterned flooring and sunset light so kept the styling bare minimum. - Logistics:This is probably the most important tip out there for an outdoor shoot. Plan and pack everything that you think would be required. Keep extras as you are in an uncontrolled situation and may not be able to access readily whatever prop you would need. Pack everything in a travel friendly bag or basket. I packed too much and hurt my hand (literally) carrying them around. So be wise with the amount of stuff you carry.Also, don't forget to wear comfortable clothes. You will be on your feet for a good long time and out in the world you don’t want to ruin your best clothes with food or mud. It sometimes becomes difficult to manage logistics in an outdoor shoot, but you slowly understand your basic requirements when you do it often.


So that was
a rather long post this time. But I hope you got a few tips and motivation to
pack you food bags and head for an outdoor shoot. Whenever you do, tag me in r
pictures on Instagram and I’ll share them with the instafam!
Nice Post thanks for this informational post. When it comes to wedding photography and finding the top wedding photographers in Bangalore, it is none other than Nitin Arora Photography you should choose. So you need to contact us, and we will help you book your dates and also take care of all your needs at the earliest!
ReplyDelete